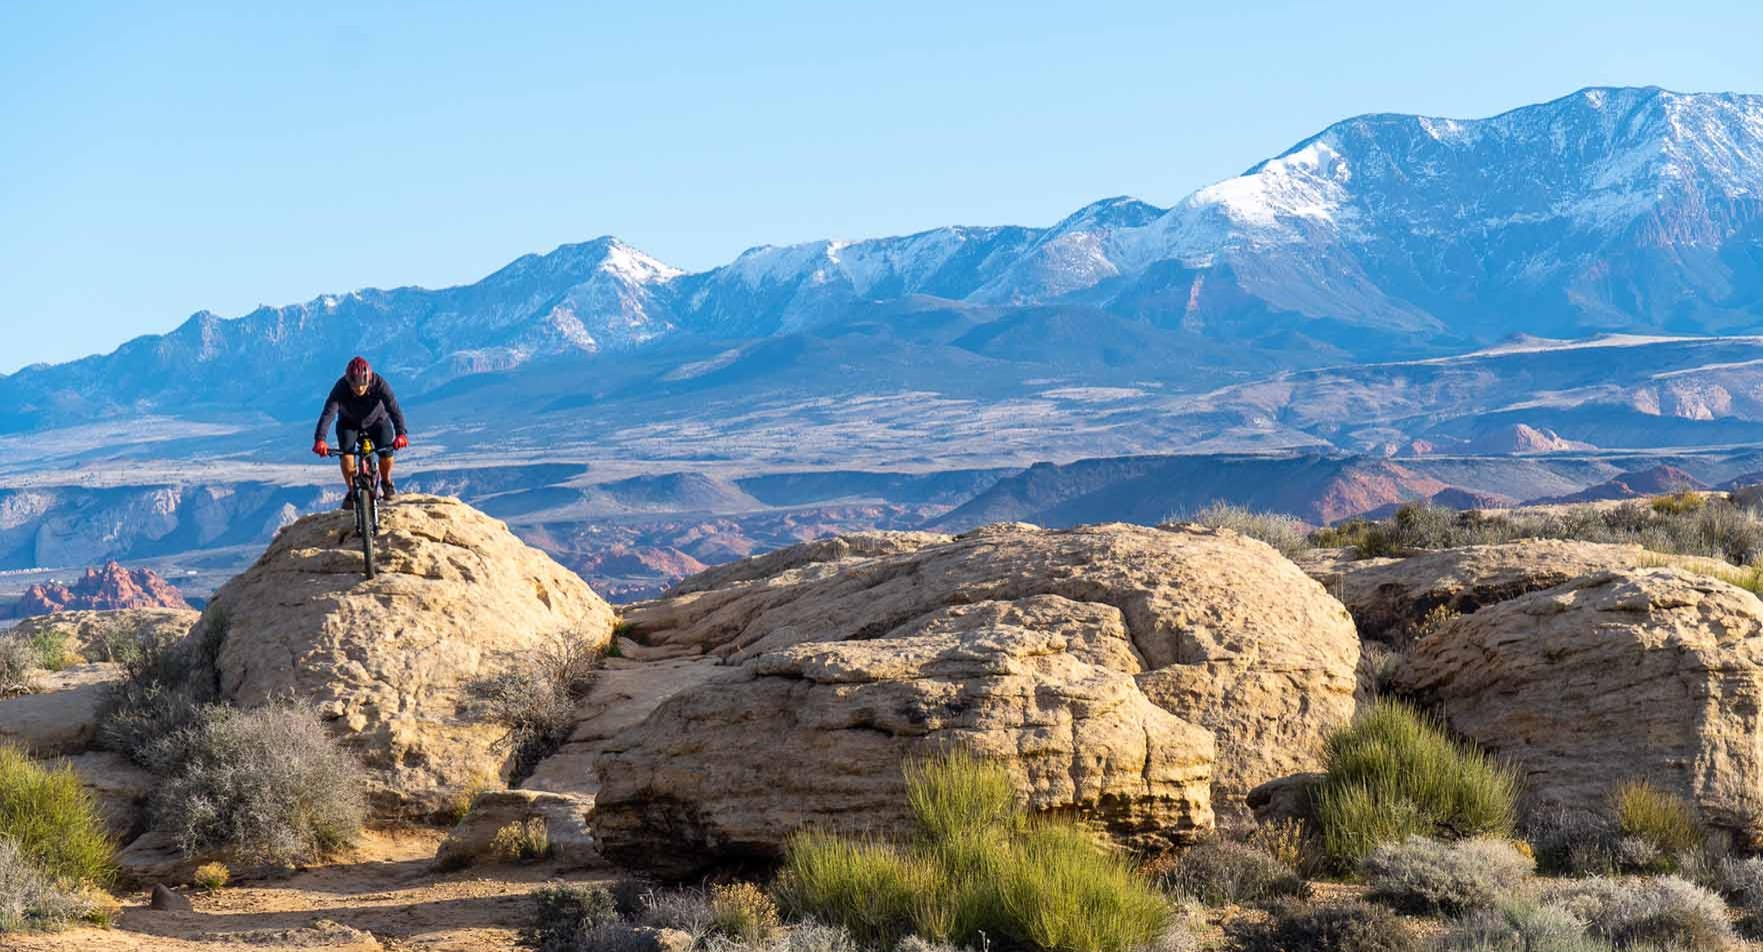
A Guide To The Zen Trail By Its Obstacles
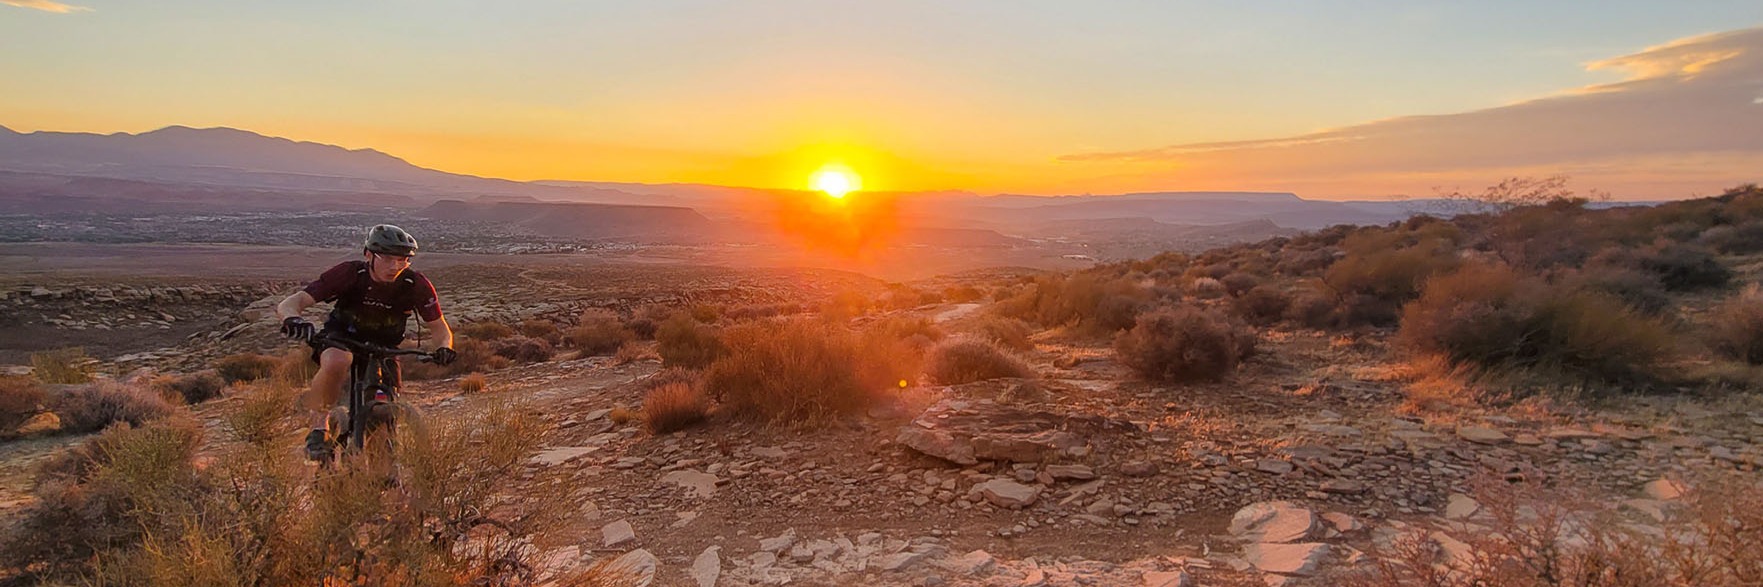
The Zen Trail is one of the most popular trails in Southern Utah. It's a short, not even 6 mile loop, that will kick your butt. For starters, it's steep. The climb is hard by itself, but then Zen likes to throw a myriad of trail obstacles at you while you are trying to climb. You may feel like you're done when you hit the overlook, and while it is almost all downhill from there, you still have two significant ups to negotiate that will make you wish you were done.
This may sound like I'm pushing you away from the trail, but fortunately, the reason people love it is not just for the challenge, the downhill is well worth the effort and will leave a grin on your face. It's always worth it.
the crack
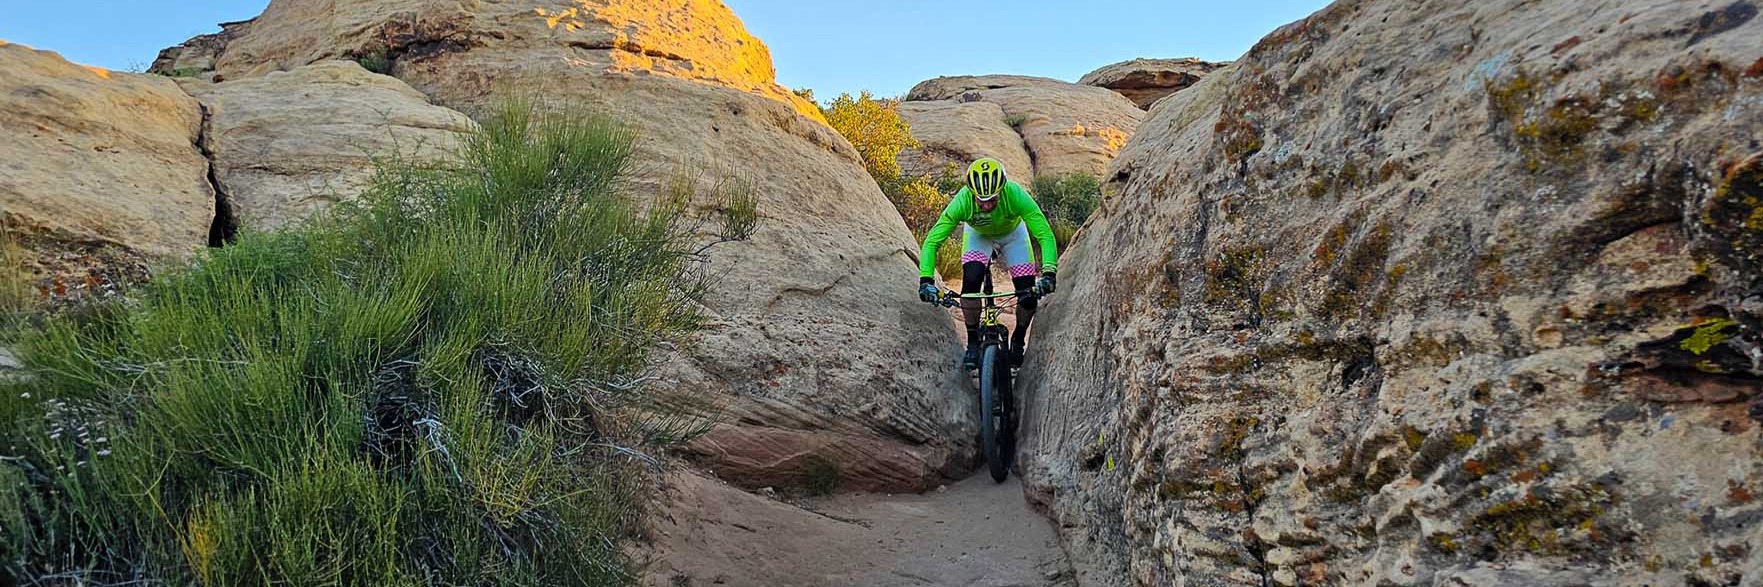
The first obstacle you will encounter is on the climb, but you'll actually drop into it. Known as the crack or Pedal Scratcher, it's a narrow notch that you have to slide through. Most riders will clear this one without much thought. It requires that you keep your pedals level and then just let the scratching happen as you slide through. This one is fairly dynamic as well. People will fill the crack in with rocks creating more clearance, but then those rocks roll out of the way or are removed by the "purists" bringing the trail back to pedal scratching level.
the jacker stacker
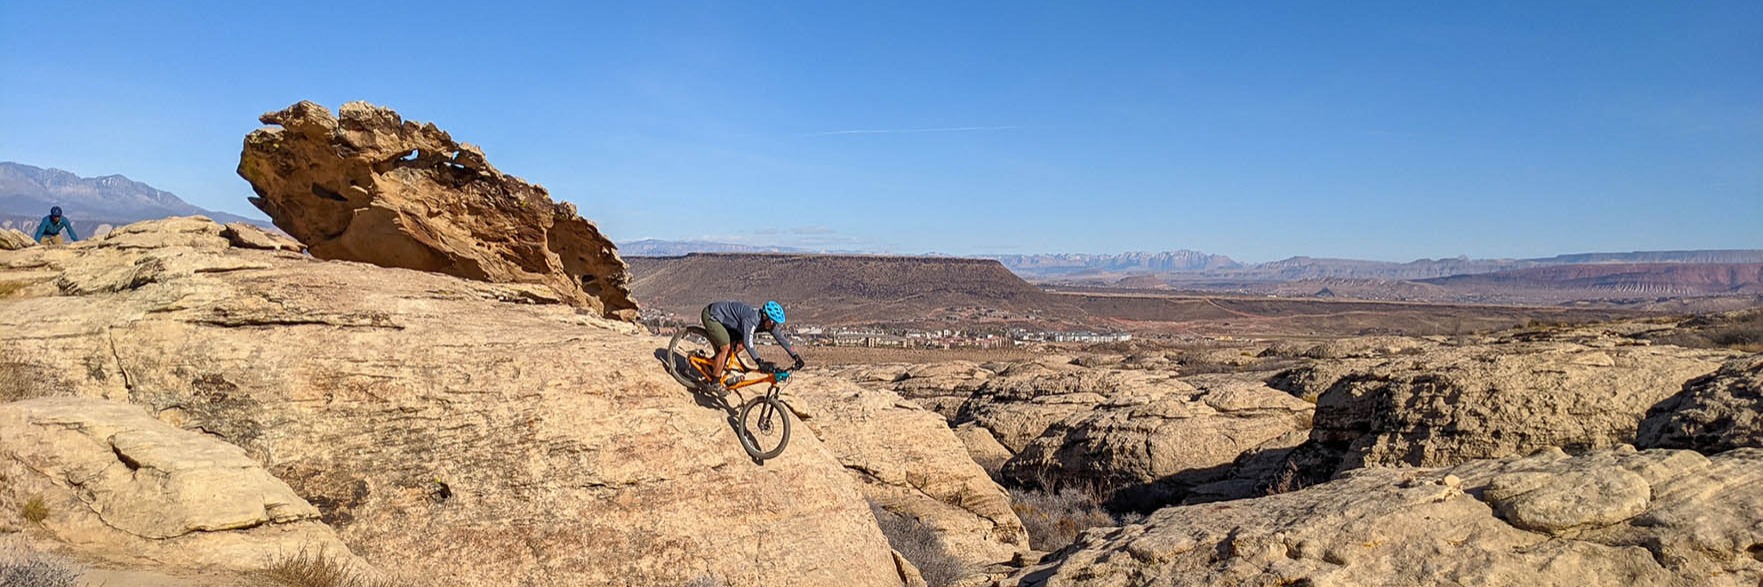
There is an alt line at the top of the roll into the Crack called the Jacker Stacker. It will definitely jack your stack hence the name. This is a 20ish foot sandstone roller. To enter the Jacker, hang a left just as you take the first little down toward the Jacker. You'll roll around a rock before seeing the blind roll in. There are typically some marker rocks, but regardless, if you haven't rolled this one, it's recommended to take a second and scope it out. The line rolls out best the closer you are to the bushes on the right. The farther left you are, the harder the exit will hit.
Roll in slow and do your best to control your speed. Stay back and down. As you come off the roller be mindful of the sand you have just landed in. I've never witnessed anyone wreck on the roller but have definitely seen some issues with the sand at the bottom.
S.o.b. Hill
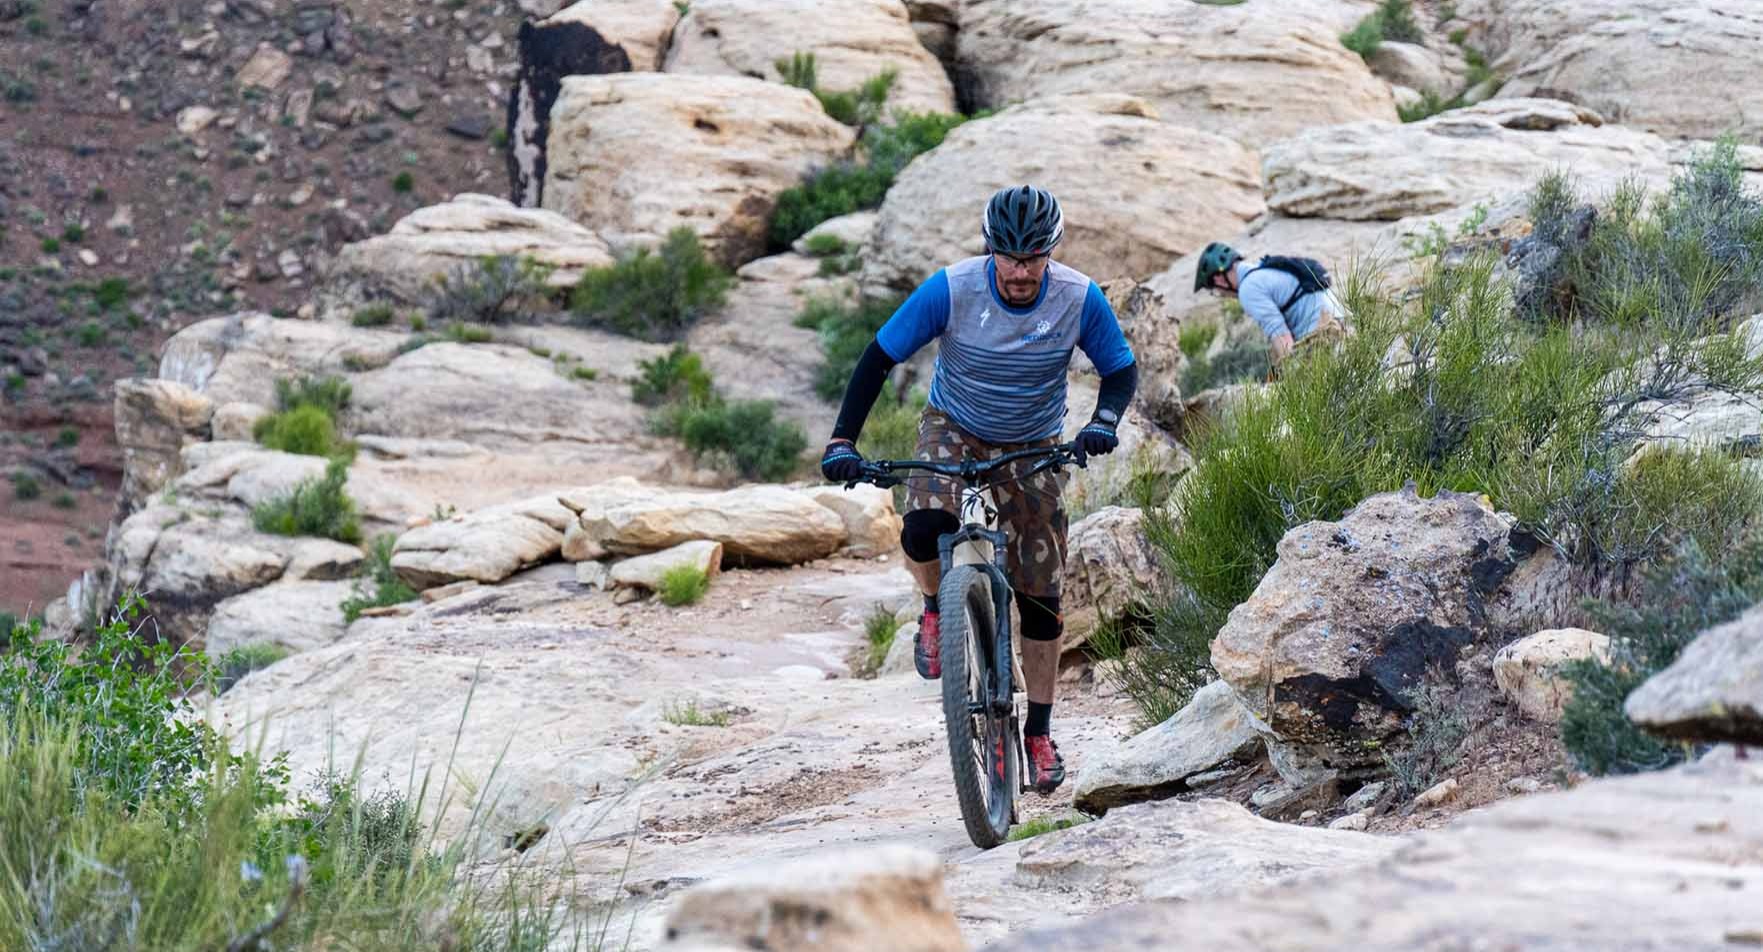
The first significant uphill obstacle is affectionately known as S.O.B. Hill. This is a hard one. The original and only acceptable line hugs the rock to the lift and goes straight up the sandstone. This would be much easier if the run in wasn't littered with rocks and small steps that sap almost all of your momentum.
Once up the first initial move, which happens to be the crux, don't stop. Keep pedaling and negotiate the other steps and rock slabs. Once things level out, it's advisable to stop and catch your breath.
commitment issues
The next move is another alternative line. After S.O.B. Hill, things will stay flat for a bit. You'll roll up onto a slab of sandstone. There are lines around both sides of the nub of a rock that juts up in front of you. That nub is Commitment Issues. It's called this as it's really two moves in one and if you don't fully commit to both, you will not make it.
First, you have to get on top of the nub. This is best done with a little speed, just enough to carry you up and over the 3-4 foot wall and carry you across the flat section at the top. Head in and pull up hard a couple of feet before running into the rock while throwing your weight forward. This will pull the bike up and behind the front wheel landing you right on top.
Second, you've got to keep your wits and commitment about you. Roll over the top and drop the ten foot steep roller. Right off the front, pretty much dead center.
s.l.m.f.
I'm not gonna tell you what that stands for, you can let your imagination run wild.
This 45 foot section of trail is by far my least favorite. It's more of a steep climb than an obstacle, but I'm throwing it in here as it feels very obstacley. The flat that takes you away from Commitment Issues will go up and then flatten and then go up. As you start to climb the 2nd time, the trail will hang to the left to go between two house size boulders. I like to slow down, make sure my hear rate is low and that my breath has been caught as I approach these boulders.
As you go around the corner, you will want to start building a little speed. Momentum isn't going to conquer this one, but it certainly doesn't hurt. Once around the corner you just gotta go for it. Crank, grind, jump on the pedals, whatever it takes, just keep pedaling until you pop out at the top. I can almost guarantee your heart won't pop out of your chest.
bath tub/toilet bowl
The Bath Tub or Toilet Bowl dependig on who you talk to, is a essentially a half pipe. A quick down, short flat and then right back up. Momentum is key as is the line. This is a precise move.
As you enter the Bath Tub, there is an overhanging boulder on your left. You will want to be just about as close to that as you can be. There is a cheater rock as you drop in that is a great marker of where you want your front tire. Once you go over the edge, let things rips. The momentum from the roll in should carry you through the bottom and almost right back up the other side. Aim for the middle of the ramp and as you top out, give yourself one more pedal stroke to pop right out.
billy goat hill
From the Bath Tub, you've got a few smaller moves and then the switchbacks up to the overlook. There's good reason to stop and take in the views. You are at the highest point of the trail even if you aren't done climbing. The downhill from the Overlook is an absolute blast. Billy Goat Hill is right in the middle of it.
You'll come down off some sandstone steps before the trail abruptly heads back up. The lead in is steep, sapping your momentum and shooting your heart rate up. The real obstacle is toward the top. The trail will take a left and you will see some sandstone steps. The key is to get onto the sandstone on the right of the trail and hit the first step with enough momentum to carry you up onto it. From there, keep cranking. The trail continues up and to the left toward the next step. On the far left side, there is one rock. You need to get your front wheel on this rock and then crank to drag the back wheel up.
Make it up that step and all you have left is to continue crank up the last 10 or so feet of the climb. Once again, I'd recommend taking a breather to let your old ticker slow down.
the zen drop
After Billy Goat, you've got some more killer down hill. Enjoy it. It's a ripper of a descent.
The downhill ends with the Zen Drop. This is a chunky 45 foot section of trail that leads into a drop that must be negotiated whilst making a hard right turn. As much as the drop at the bottom may look and seem like the crux, the chunky roll in is much worst.
There's a bunch of different ways to roll through this. I prefer to start on the right and drop while moving to the left. This isn't the most obvious line, but is the fastest and smoothest. To get into it roll in, drop the first step while noticing the big rock on the right side of the trail. You want to roll onto the top of that rock while positioning your front wheel toward the middle of the trail. As you roll over the top, you're going to be looking right down the gut of the trail. There's a clear line through the middle and to the left, let 'er rip.
The actual drop, while visually terrifying, is pretty easy. Roll up to it slowing your speed from the chunk you just descended and head in parallel to the drop. Just as you roll past the big rock on your right, turn. This will put you right where you want to be, all you have to do is ease your front wheel over the lip and lit it go. Despite being called a drop, it rolls out quite nicely.
hell hole
You've finished the climb. You've finished the descent and yet you still have 1.5 miles to go.
Hell Hole is aptly named. At this point, you're probably tired unless you're one of those superhuman mutants. And now you have to climb another crazy steep, techy section.
This climb has two options. The most straightforward is a power move followed by another power move followed by a steep, chunky climb to finish it out. For this line, carry as much speed as you can into the first move. Lift you front wheel as you get there and throw your weight up and forward. Once up, do the same thing as best you can for the next section. If you do everything perfect, you'll make it up the move. Once on top of the second power move, keep cranking and climb up the steep sandstone to the top.
The 2nd option is, in my opinion, more esthetically pleasing. As you round the corner, you will see an off-camber slab leading up on your right. There is typically a few rocks stacked at the bottom. They don't do any good as you have to hop up the first bit, but they are a great indicator of where you want to be. Head for those rocks and pop/bunny hop up the first section. As soon as you land, a couple of cranks will put you through a narrow section of trail, narrow like a couple of inches. Then hang a right and essentially make an S turn to get you to the steep sandstone section to climb to the top.
At this point, you are done with all the major obstacles, but you're still not done. The trail will continue for another mile or so with some ups and downs before taking you back to the trailhead.