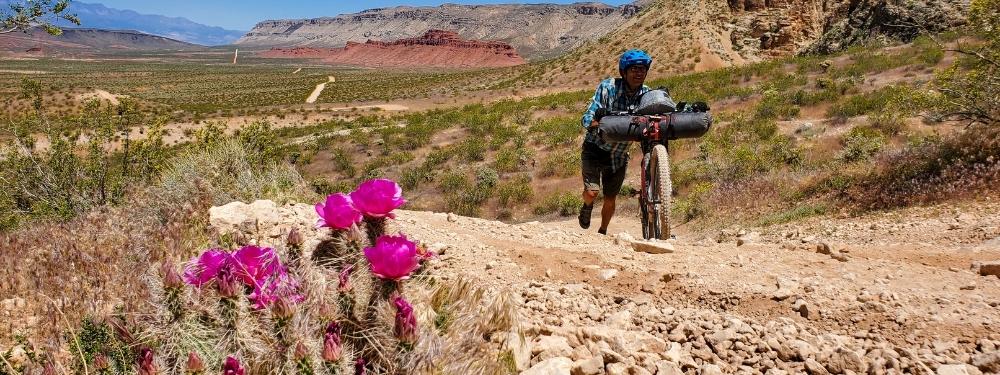
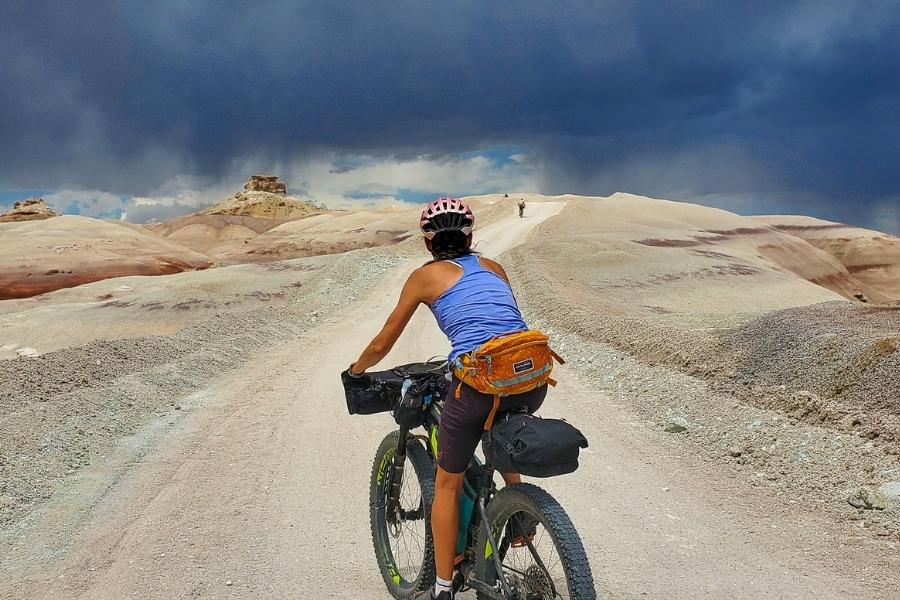
bikepacking necessities
At the most basic, to go bikepacking you need three things: Shelter, Sustenance and Bags. Shelter is essentially a way or place to sleep typically consisting of your clothes, tent, sleeping bag and pad. Sustenance is everything you need to stay fueled while you are out. This includes all your food and water. I would also lump a stove in there if you plan to cook and a water filter for refilling safely when in the backcountry. And lastly, you will need a way to strap all of that good stuff to your bike, aka, the bags.
To set you up for success and to consider the DIY side as well as less cost prohibitive methods, I will break down each item I feel is a necessity into categories: Run what ya brung and Gear up. The first is a way you could possibly start bikepacking tomorrow with stuff you probably already have or at minimum cost. And the second is what I would recommend for a starting kit if you were to buy what you need.
Shelter
Let’s start with your sleeping situation.

Run with what ya brung
All you need is a bedroll. Think of that small roll of blankets attached to the back of the saddle of every cowboy in those old western movies. You just need something to cover you up that will keep you warm. A fleece blanket will work or a wool one or a down one, whatever you happen to have lying around. You’ll want to consider size, warmth, and weight, but as long as you can strap it to your bike and you aren’t going to freeze, you’re good. Roll it up, strap it on, and ride out.
If you happen to have a sleeping pad or even a yoga mat kicking around, you might consider bringing it for some cushion and extra insulation.
Gear up
There are a million different combinations of sleeping bags, pads, quilts and otherwise you can use depending on conditions and your budget. I’ve found that a great setup that covers the most conditions is an inflatable sleeping pad (insulated) and a 15-20 degree sleeping bag.
I recommend an inflatable sleeping pad due to its low weight, packability and warmth. Being inflatable, you can fine tune the pressure to your preferences. It will pack down small making it easy to attach to the bike. The only downside to anything that is inflatable is the possibility of punctures. Be careful, you’ll probably spend an uncomfortable night at some point, but the other factors outweigh the risk in my opinion.
A 15-20 degree sleeping bag will cover all but the most freezing cold nights. It is quite easy to add layers, throw in a sleeping bag liner or just wear your puffy coat to bed when things are colder than you expected. And on the contrary, unzip it when it’s hot or sleep on top. This is the bag I take on the majority of our trips. If you can afford down, get down. It’s lighter and will pack down smaller making it much easier to carry. With that said, you can find a myriad of options with synthetic insulation that will work just fine.
Now we're on to your tent.
Run with what ya brung
Sleep outside. The first time might seem a bit scary and if there are mosquitos or a chance of rain, you might want to consider rescheduling, but this is the lightest and easiest way to do it. Throw out your bed roll and crawl inside. Once you get used to “cowboy camping” you’ll find you have a hard time justifying a tent or other type of shelter.
Not into that, grab a tarp. It’s a good idea to practice before it is desperately needed, but a tarp is the oldest form of tent and happens to work extremely well if set up correctly.
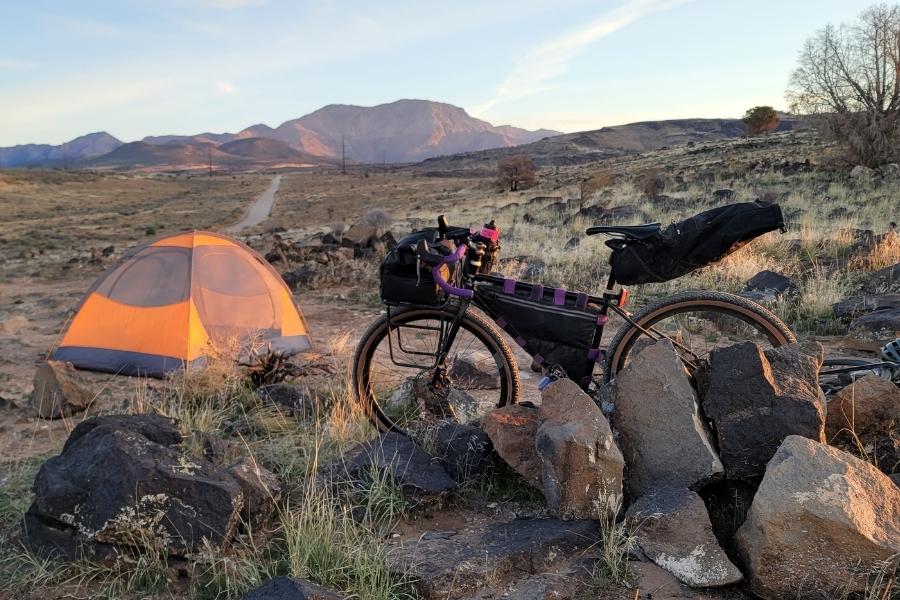
Gear up
There are hundreds of different types of shelter that can be purchased. Consider the space you will need, how small it packs down and overall weight. If you are going to be bikepacking in inclement weather, you will also want to consider how it is going to handle those conditions. You will find that folks that spend a considerable amount of time outside, will have multiple tent options. Personally, I own two tents and a tarp. Each one is employed in different experiences and for different types of trips, but my favorite is still to sleep under the stars.
And what clothes should I bring?
Run with what ya brung
You will probably be fine wearing what you typically wear on any given day. Consideration should be given to weather conditions and the weight of the clothing, but otherwise, there isn’t a right answer here, just lots of wrong possible answers. The best thing is to experiment with what you will need and fine tune your clothing kit as you go. For your first trip, keep it simple. Stay local and go when the weather is nice and you will be fine.

Gear up
Again, there aren’t any right answers, just lots of possible wrong ones. Experienced, long distance bikepackers will tell you that you have packed too much if you don’t use every item of clothing during your trip. And ultralight bikepackers will say you packed too much if you don’t wear everything you brought to stay warm at night. Those are extremes, but you should consider clothing that will be used for multiple reasons. Building out a multi-use clothing kit is pretty easy. A puffy jacket easily converts into a pillow. Long johns can double as riding tights if the weather unexpectedly cools. The more you go, the more you will know what you will need and which items can stay home. So ride more.
sustenance
Unfortunately, you gotta eat something and you’re gonna have to carry it.
Run with what ya brung
Food is a highly personal topic. Chances are you have a pretty solid background on what you like to eat and how. Assuming that your initial trip should be just an overnighter, you can probably grab stuff out of your pantry or make quick jaunt to the grocery store and find food that will work. If you don’t have a stove or will be dry camping (camping where there isn’t water available) you will want to consider both of those things prior to departing.
Speaking from experience, if you plan to cook over a fire, practice first. If you feel you must cook, do a quick web search for DIY stoves and you will find a myriad of variations that will pack down small, cost almost nothing and work to get your food up to temperature. If you go down this route, be sure to practice ahead of time so you have plenty of time and fuel.
As far as water goes, grab some bottles and roll. If you are planning a lengthy ride and hope to resupply, make sure you have planned out a spot, have appropriate methods for purifying or simply carry all you will need.
Gear up
In addition to the basic items in your pantry, there is a plethora of brands that sell dehydrated food and other camp goodies. Dehydrated food is great because it’s light, easy to make and when you are hungry it will taste awesome. These meals are available locally from the Desert Rat and Sportsman Warehouse, but also can be purchased online. In addition, my go to is ramen. You’re going to be sweating so the salt levels aren’t as much of a concern and if they still are, use less of the seasoning. They are light, easy to make and pack plenty of calories.
Of course, you will need a way to heat water or cook these meals. If you are consuming mostly dehydrated food and ramen style fair, I recommend the MSR Reactor. It is highly efficient, doesn’t care about wind and will boil your water quickly regardless of conditions. If you are concerned about size, check out the Pocket Rocket, also from MSR.
As far as a mess kit goes, I’m pretty simple. Hobo cup is a must, going without morning coffee isn’t really an option. Mine is a Vargo camp mug, titanium to keep it light. If I am carrying my Reactor, it works as my stove and pot and between that and my hobo cup I’m covered. Using a Pocket Rocket, I will carry a Vargo titanium pot, essentially the same thing as my mug but bigger. Works to do what you need and is plenty light. Plus you can stash your fuel in it to keep the volume to a minimum.
And of course, water. I’ve got several different methods to purify water, but my go to is the Platypus Gravity Filter. There’s nothing better than doing almost nothing to get clean water. You scoop up dirty water in one bag, connect the filter and hang it. Then gravity does the work of pulling the dirty water through the filter and into the clean bag below. After a few minutes you’ve got water you can drink. Plus, it packs down small and is relatively light.
bags
And finally, how the hell am I going to carry all this stuff?
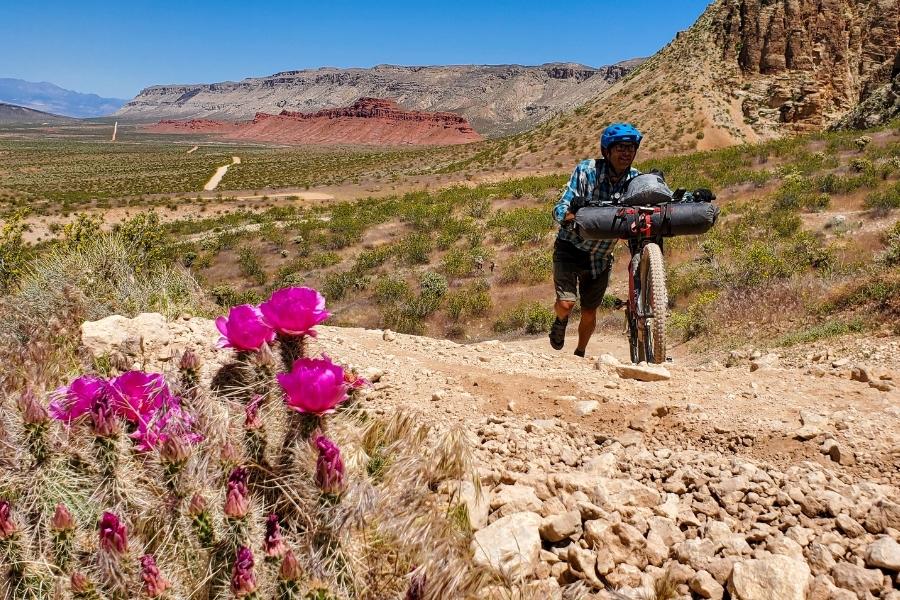
Run with what ya brung
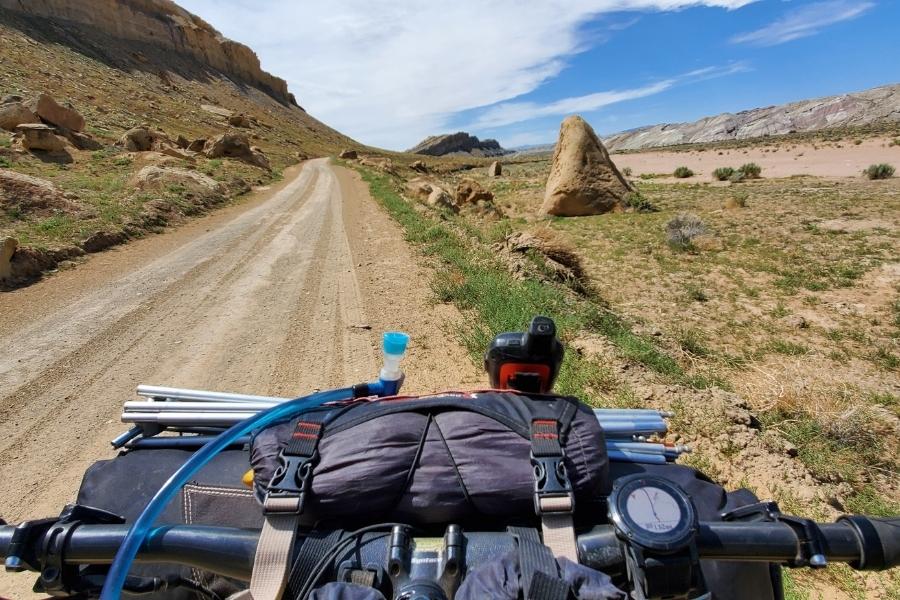
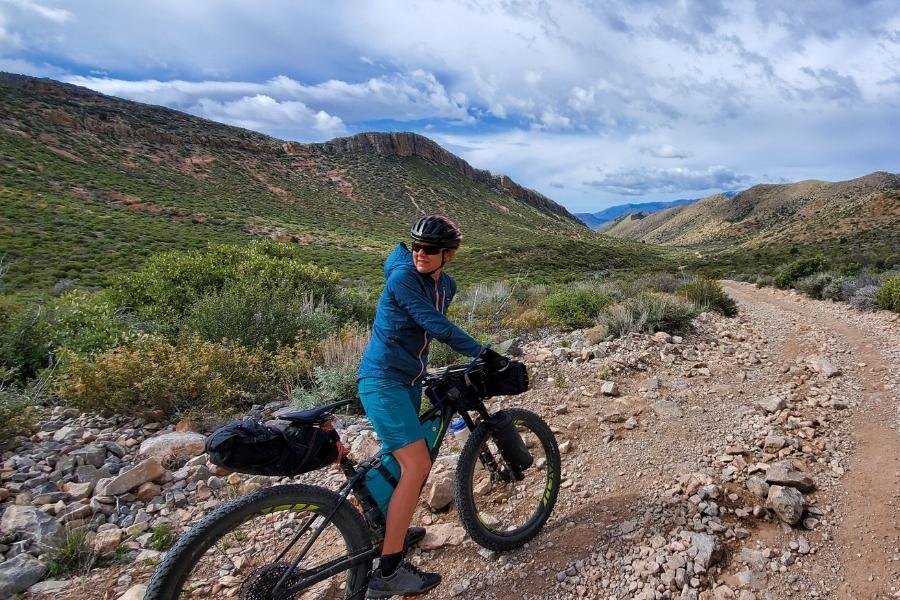
I’ve seen so many different iterations of strapping stuff to bikes that it’s hard to put them into any kind of a category. The most common locations for carrying your gear are the handlebars, in the frame and behind the saddle. Voile straps are great for strapping things on as are NRS tie downs. However, you decide to do it, make sure to do a shake down ride so your sure you won’t be fiddling with your set up instead of riding.
If you are going to invest, invest in a frame bag first. Handlebar and saddle bags are fairly easy to improvise, but it’s hard to get stuff in you front triangle without a frame bag.
Gear up
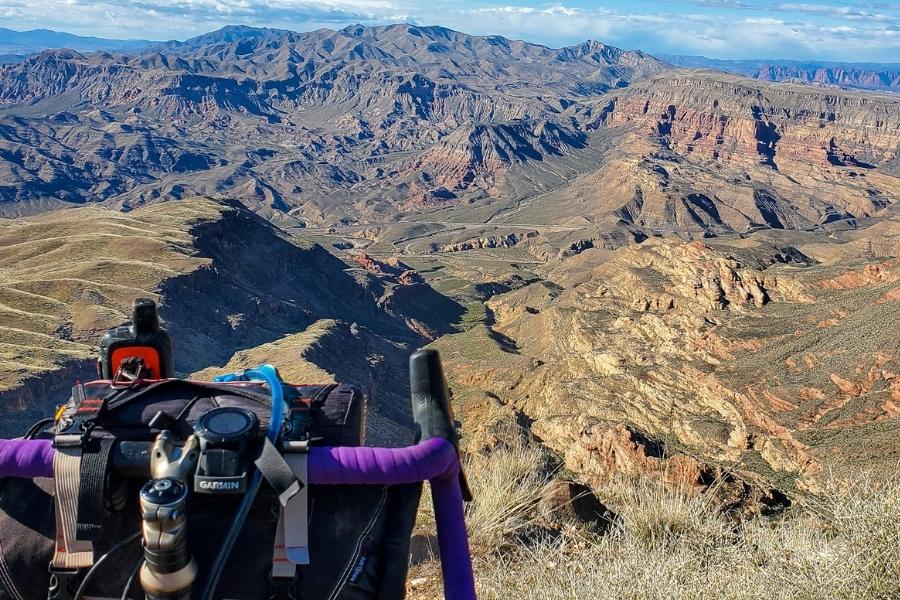
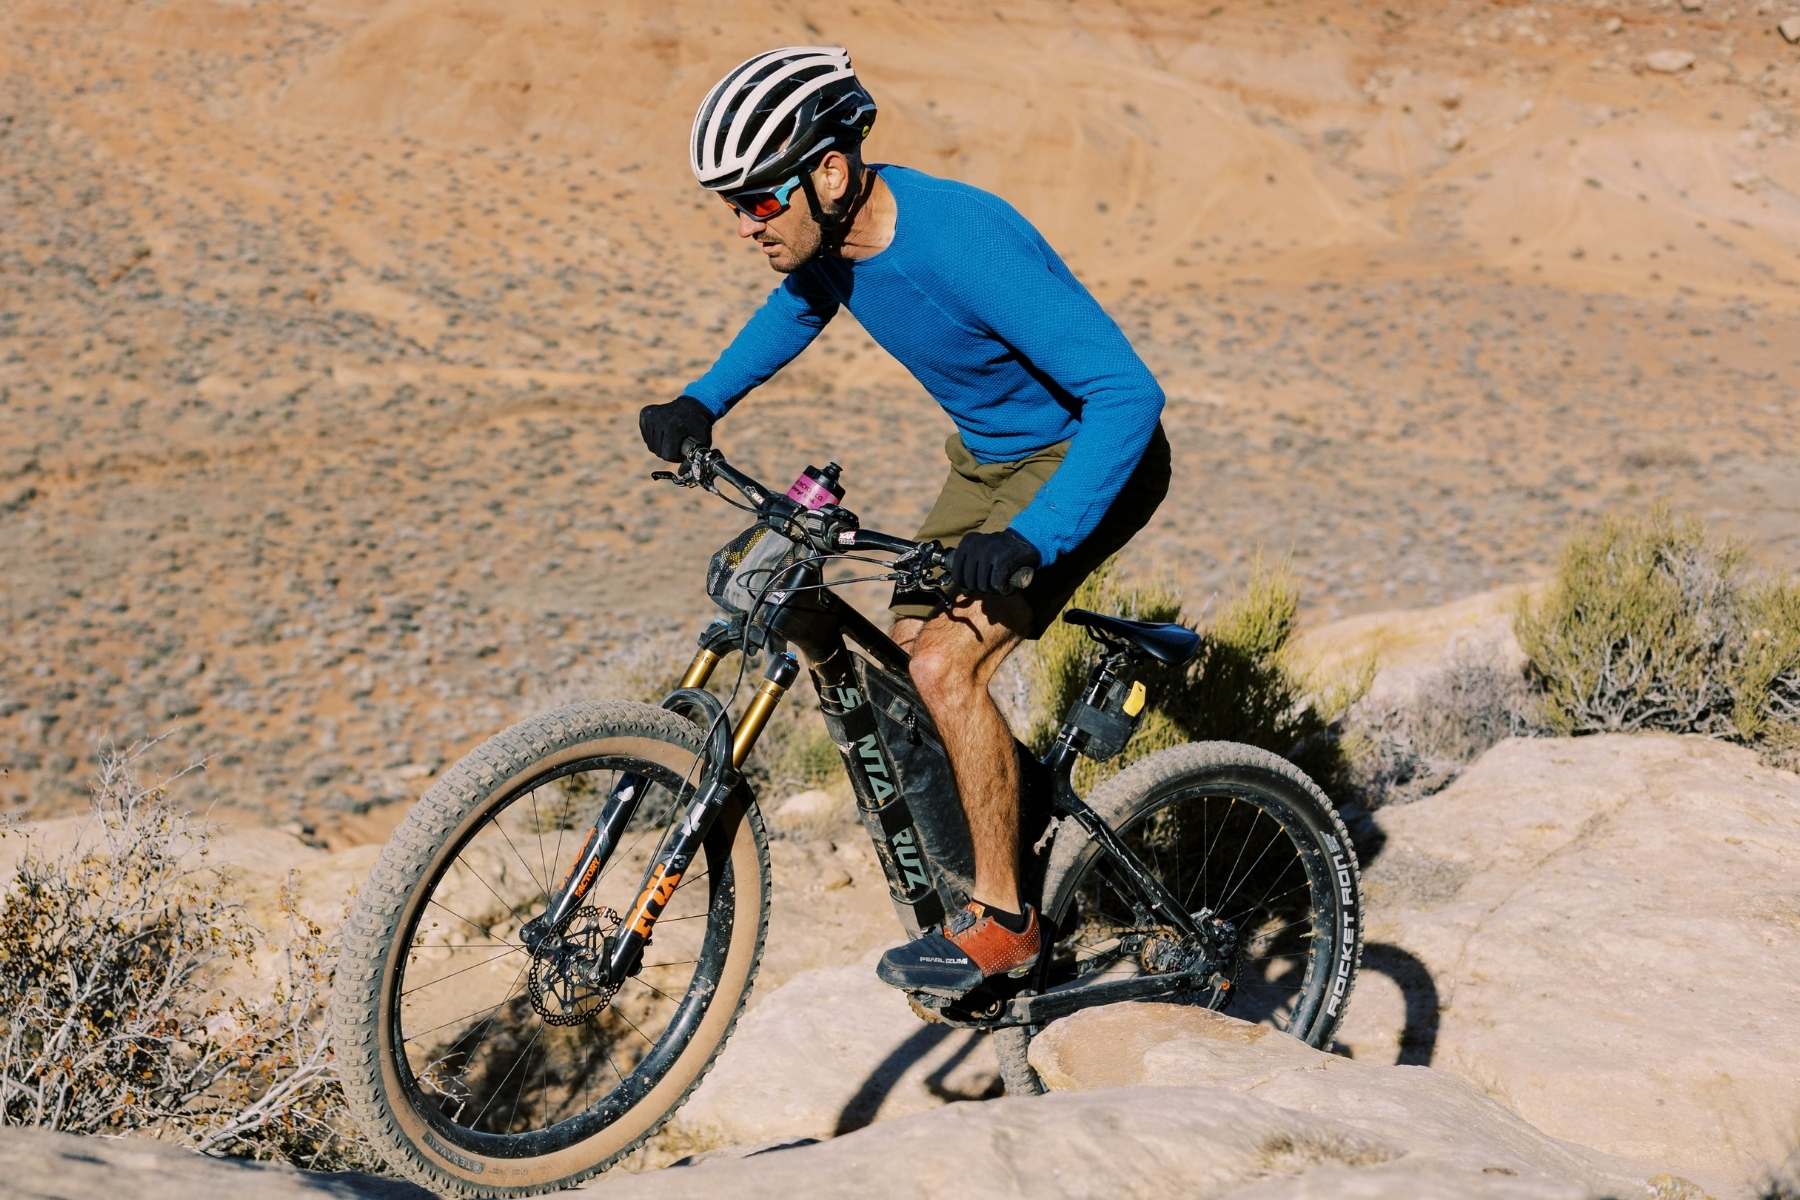
There are plenty of bag companies making high quality bags. I personally use a Revelate Sweetroll for my handlebar bag. My frame bags are custom made by Rogue Panda (I highly recommend custom as it allows you to use all the space in your main triangle). I prefer their roll top design as it eliminates the possibility of a zipper blow out. And my saddle bags that are going on 5 years and holding strong are also made by Revelate. Bags can be pricey, but if you get good ones they will last you for years.
As with any setup, go on a shakedown ride prior to your trip to make sure you have all the straps tied down, tucked away and you are fully aware of how they work.
Written by lukas brinkerhoff
Lukas, AKA Moose Knuckler, has been cycling for years. He spends his weekends cycling, running, and camping. He currently rides around on a Santa Cruz Chameleon and you can usually find him eating Peanut Butter Pro Bars.